
I can’t seem to stay away from pinhole photography these days. After experimenting with pre-cut paper negatives, I decided to use the first pinhole camera I’ve made with full size paper negatives only. The papers I have (13 x 18 cm) fit nicely in the tin can and one really appreciates the wide angle while using the whole paper. Here’s the last shot I took:

There is some vignetting in the frame, as the pinhole dimension slightly mismatches the focal length yet it somehow works for the composition. This is my favourite pinhole shot by so far but there’s a long way to master the subtleties of paper negatives. The paper renders the colours in a very unusual way. It’s hard to learn to see this way.
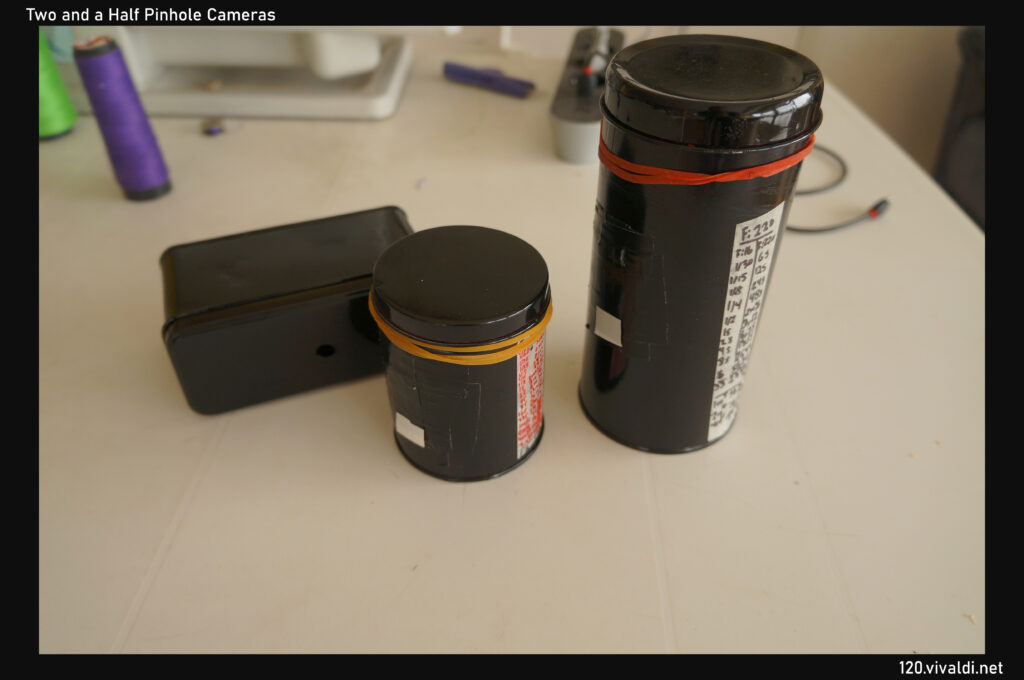
To be able to shoot smaller size negatives, I worked on two additional pinhole cameras. “Number 2” (smaller tin can/tube) is for shooting half a paper while the unfinished, rectangular “Number 3” is for shooting one third of a full paper. Number 2 has a pinhole of f:221. I’ll try to make a similar size pinhole for “Number 3” , so I can leave all the cameras pointing at different scenes, exposing for the same duration. Each camera has a simple list of exposure calculations. The left column is the exposure values for f:16 and the right column is reserved for the equivalent values at f:220/221. I take a reading using my trusty Soviet light meter at f:16 and expose for the corresponding time. Simple and works fairly well. I used mrpinhole’s site for exposure calculations.
For the next shooting session, I hope to test Number 2 in seaside.
Take care,
120