
I wanted to try pinhole photography for years. At last, I gave it a go!
For the camera body, I used a cylindrical tin can. I drilled the body and taped the pinhole I’ve made using a beverage can. This is the most straightforward approach in pinhole camera making. I’ve used mrpinhole’s calculator as a starting point. After getting the camera ready, instead of using film, I went with a paper negative.
Pinhole photography is a simple concept but making an ideal pinhole camera is absurdly tricky. I spent a long time holding a tiny pin to make the perfect hole before changing my approach. The camera had to be tested at one point so I moved that point towards me and went for an early test shoot. My “negative” is at least 30 years old. To be safe, I rated it at 3 ASA. The pinhole is around f:302 and the exposure time was 2 min. I developed the negative in home made Rodinal (1+20)
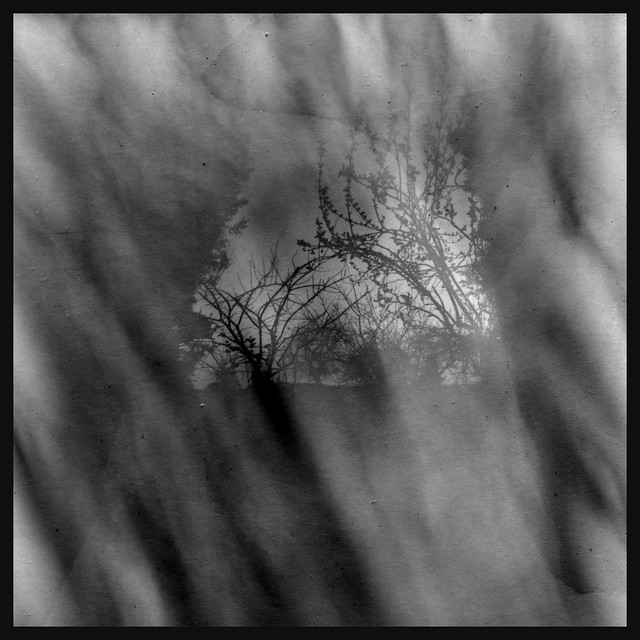
It looks like the tin can needs some light-proofing. Before the next shoot, I will paint the inner surfaces in black and wrap some electrical tape around the upper rim.
After developing and scanning the photo, I kept prodding the tiny pin through aluminium to make the pinhole bigger. The ideal pinhole size is 0.377mm for my use and I’ve managed to get close (0.3634 mm) . I don’t think I’m going to push my luck any further…
For pinhole measurement, I used my ancient scanner. Martin Winfield’s wonderful page had everything I needed to learn the technique. This step requires patience as it takes a lot of trial and error.
If I manage to properly expose my next photo, I’d like to try making a positive by contact printing the paper negative.
Shot to print, no lens, no film. Exciting idea!
Until the next time,
Take care.
120