
The results are in!
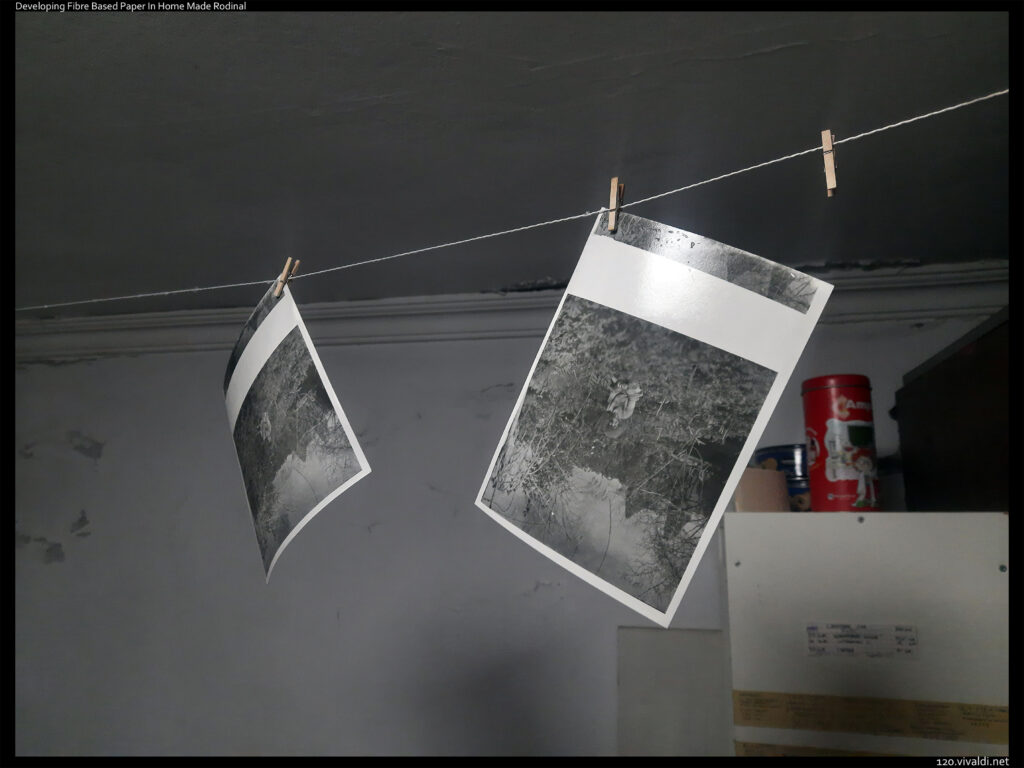
I printed my first photos with home-made Rodinal and the formula works! The initial run helped me to test some basic characteristics and to get in the groove after a long dark room break.
I kept some notes while printing and I’ll try to put these in a cohesive post below.
With this initial session, I barely scratched the surface of what’s possible and I’m eager to make more prints to test Rodinal in greater detail.
I prepared a 250ml solution with 1+20 dilution. In practical terms it means that I’ve added 13ml of Rodinal in a quarter litre of purified water.
Rodinal can be used in many different dilution schemes. I needed to figure out the dilution for developing paper. Popularly, the maximum amount of Rodinal dilution for film developing is 1+25. As a rule, a photo paper is rich in silver content (or richer than a film) so the developer has to be strong to work it’s magic to the completion. It’s also good to keep in mind that the developer can lose it’s potency while sitting in an open tray. (That’s especially true with home made developers). I’ve noted a few figures that I came across in forums and I thought 1+20 was a nice starting point. Not too strong, not too diluted. This proved to be an OK choice.
250 ml is the the usual amount that I prepare for three to four prints (13×18 cm), excluding the test strips. As I previously used Caffenol as my main developer, preparing a small amount of solution helped me to minimize the opacity of thick, brown working “soup”. Even though Rodinal solution was crystal clear, I stuck with the same amount out of habit. Now I think that working with more solution can be a bit more comfortable.
Extreme temperatures can be tricky in film photography and my darkroom is the coldest place in the house. So I tried to heat it with an electric heater.
As a working temperature, 20°C is the golden standard. All the technical sheets and the practical guides that I’ve read established development times around this magical figure. Unfortunately the electrical heater had it’s limits and I’ve had to make do with
a working temperature ranging from 15°C to 10°C. It worked well. If you’re like me, unable to find info about the working temperature limits of Rodinal in dark room, don’t worry. Rodinal works in less than ideal conditions. At least my home made version did.
I use old fibre based photo papers. While I don’t have the slightest idea about my papers’ production date, after a long research I’ve managed to find that they’ve been
discontinued in 2008. They’re at least 16 years old but that doesn’t make them obsolete. They work, albeit a bit slowly. They’re fibre based, subtly textured, thickish papers with pearl finish. I like them very much but I realized that I wasn’t showing them the proper
respect they deserved. I never used a hypo clear solution with my papers before. That’s the solution which helps negating fixer’s harmful effects on the fibre paper. It also helps reducing the water amount one has to use for final wash. Since fibre based paper soaks up chemicals more hungrily than RC paper does, clearing the paper from heavy fixer residue, gives a better chance to create long lasting prints.
To amend my past mistakes and to start making long lasting prints, I’ve added a teaspoon and a half sodium sulfite in 250ml of purified water.That wasn’t so hard after all! So, apart from testing Rodinal, I was also debuting my home-made hypo clear solution in this session.
I also fine tuned the amount of white vinegar I use for the stop bath. Previously I was going crazy with the white vinegar. A shameful 1:1 water-vinegar ratio was not unheard of in my dark room. As I stopped and read a little, I realized %2 addition was the norm. Now, I’m happy to start adding a cap full of white vinegar in a quarter of litre of water. This is the stop bath I used and it worked perfectly.
I use 1+4 dilution for my fixer. It’s filtered after each session and it’s reused. If I have to take break while printing, I filter the fixer and I bottle it up. It’s hard to spoil fixer as long as one is careful. I also mark the fixer bottle with a red marker to keep track of my usage.
Rodinal (1+20), 250ml ->Stop bath 250ml.(%2 white vinegar) ->Fixer 500ml.(1+4) ->Hypo Clear (Sodium Sulfite, around five grams)->Fresh Water (2 litres) -> Final wash (15 to 20 minutes)
I’m far from getting a handle on this paper-dev combination but the results are very promising. An erratic metronome (I use a metronome instead of a timer, more on that later…) made things harder and I controlled exposure by counting. Since my antiquated papers require lot’s of exposure, my usual range starts from a minute, so I’m not that finicky about exposure. Still, it would be best to learn how to service my metronome to keep some degree of dignity in my darkroom.
Well, that’s about it. Earlier I wrote that I’m looking forward to share contact prints but I changed my mind. I think I’ll be making prints sooner that I initially planned, so sharing scans of new prints would be a nice motivation for me.
Take care,
120